Some links on this page are affiliate links. We may earn a commission if you book through them, at no extra cost to you.
Affiliate disclosure: This page contains links to guided glacier and ice cave tours on Viator (partner ID P00299531) that put you in the right place at the right time for the photos. If you book after clicking, we may earn a commission at no extra cost to you.
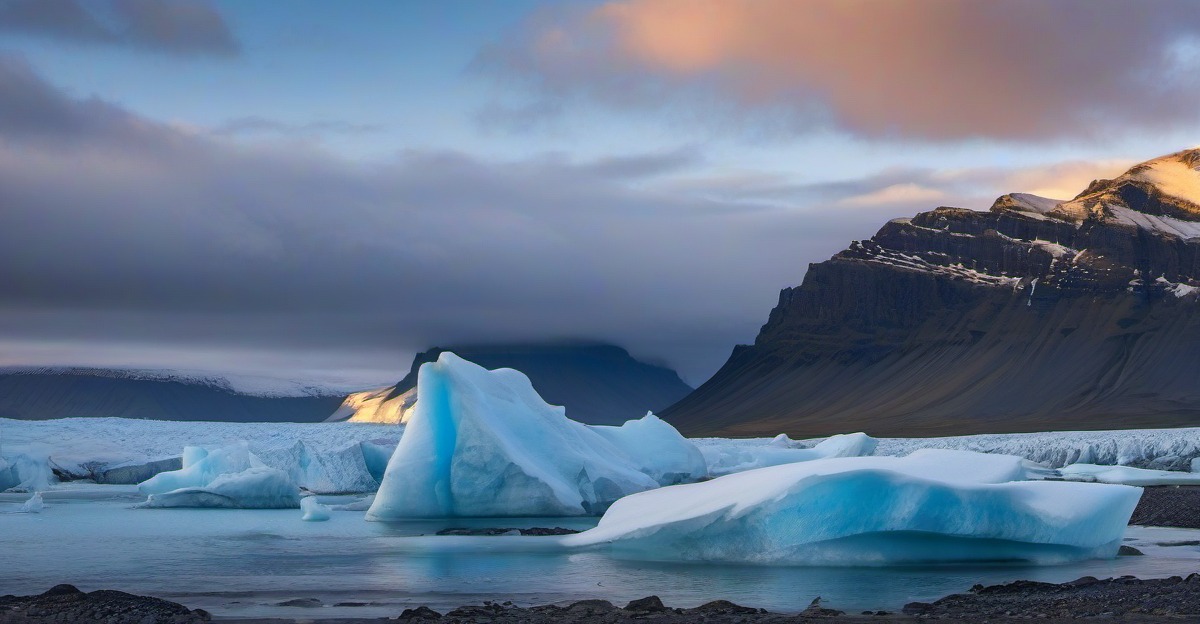
Glacier Photography Tips Iceland, What Eight Seasons Taught Me
>The morning blue, the afternoon blue, the raincoat trick, and the one lens that does 80% of the work. Settings, gear, and the order to visit the south coast photo stops.
Below is what I have learned across roughly 200 shooting days on Vatnajokull, Sólheimajökull, Jökulsárlón, Diamond Beach, and the West Coast of New Zealand. Most of it applies regardless of which glacier country you visit.
The Morning Blue Rule
Blue ice absorbs all visible wavelengths except blue and reflects it back. The denser the ice, the bluer it looks. In the first 2-3 hours of daylight, when the sun is low, the light passes through more ice at a glancing angle before it reaches you, which means it has had more chances to be filtered. The result is the deepest blue. By midday, with sun overhead, the light passes through less ice at a steeper angle, and you see white.
For blue ice cave photos: book the morning tour. Always.
For glacier walk photography: the morning tour gives you both the bluest ice and the warmest "alpenglow" on the surrounding peaks.
For lagoon and Diamond Beach photography: the morning tour gives you calm water and sharp ice reflections; the evening tour gives you golden side light on the icebergs. The midday tour gives you neither.
Lens Choice, The Three-Lens Travel Kit
- Wide angle 16-35mm: The workhorse. Caves, glacier faces, lagoons. Everything that needs scale. Use this 80% of the time.
- Standard zoom 24-70mm: Mid-range for Diamond Beach compositions and crater details. Fast in low light at f/2.8.
- Telephoto 70-200mm or 100-400mm: Pulling out iceberg details from the far side of Jökulsárlón, compressing glacier faces at distance, and the rare wildlife shot (Arctic fox on Vatnajokull, common in winter).
If you can only carry one lens, take the 24-70mm. If you can carry two, add the 16-35mm. The telephoto is a luxury that pays off in specific conditions.
Settings, The Practical Baseline
The order of priority in Iceland is shutter speed first, aperture second, ISO third. Glaciers are bright but variable, and water spray reduces the light quickly. Use shutter priority or manual.
- Lagoon boat ride: 1/500s minimum for the splash, ISO auto to 1600, f/4 to f/5.6 for sharp iceberg edges.
- Inside ice cave: 1/60s handheld (steady hands), or 1/15s on a tripod. ISO 1600-3200 acceptable. No flash (it ruins the blue).
- Diamond Beach in late afternoon: 1/250s, f/8, ISO 100. Tripod for the long exposure over moving water.
- Glacier walk surface details: 1/125s handheld, f/5.6, ISO 200-400.
The Raincoat Trick
Half my best glacier photos were taken in rain. The reason is that wet surfaces photograph darker, and darker ice shows the blue more strongly. A wet glacier face is a more dramatic photograph than a dry one. Many people stop shooting when the rain starts. They are missing the best light. Bring a rain cover for the camera and shoot through the weather.
The same principle applies to fog. Fog reduces visual distance, which makes the foreground seem larger. A foggy glacier face looks 10x more imposing than the same face in clear weather.
Shooting at Diamond Beach
The ice washes up on the black sand. The light that does the work is low-angle side light or back light. Side light hits the ice from the side and you see the texture. Back light hits the ice from behind and you see through it, with the sand as a silhouette. The light that does no work is overhead light, which is what you get from 11 At the to 2 PM in summer.
Best times: 6-9 At the and 5-9 PM in summer; 9-11 At the and 1-3 PM in winter. The winter window is short. Plan around it.
The south coast day that covers the right stops in the right order: Reykjavik pickup, Sólheimajökull in late morning, lunch in Vik, Reynisfjara and Diamond Beach in late afternoon. Operator handles the timing. Glacier Lagoon, Diamond Beach, south coast day tour →
Inside the Ice Cave
Low light, often wet surfaces, and a strong blue from any direction except direct headlamp. Settings to start at: ISO 1600, f/4, 1/30s. Use a tripod if you have one. Use a wide angle lens, because the cave is small and the walls are close.
The photograph that does not work is a portrait of someone standing in the cave. The photograph that does work is the person from behind, looking into the chamber, with the blue wrapping around them. Show scale. Show the cave, not the visitor.
The morning ice cave tour that gives you the blue: January-February departures get the strongest blue. The tour includes helmet, headlamp, crampons, and the Super Jeep. Crystal Blue Ice Cave Tour from Jökulsárlón →
Gear Protection
Salt spray at Jökulsárlón is the single biggest cause of camera failure. The spray drifts inland on windy days. Use a rain cover (a $20 neoprene sleeve does the job). Wipe the lens with a microfiber cloth every 30 minutes. Do not change lenses at the lagoon shore with the wind blowing from the water.
Inside ice caves the air is wetter than outside the cave. A dry bag for the camera and lens when not shooting is not optional. Cold air + body heat + closed cave = condensation on the lens the moment you walk in. Either put the lens in a ziplock and let it warm slowly, or accept the 3-4 minutes of fogged glass and wait for it to clear.
The Schedule That Works
If you have one full day and want the best photos, this is the order, with vehicle flexibility in summer:
- 5:30 At the: Diamond Beach for sunrise.
- 8:00 At the: Fjallsárlón for the glacier face in soft morning light.
- 10:00 At the: Jökulsárlón zodiac boat tour (booked morning slot, 30-40 minutes).
- 1:00 PM: Lunch in Hofn.
- 3:00 PM: Sólheimajökull glacier walk for ice detail and surface texture.
- 6:00 PM: Reynisfjara black sand beach for late light on the basalt.
- 9:00 PM: Drive back to Reykjavik.
The Mistakes Everyone Makes the First Time
- Shooting only at midday. The light is flat. The ice is white.
- Putting the person in the centre of the cave shot. Show the cave.
- Cleaning the lens with a t-shirt. Microfiber only.
- Not bringing a rain cover and stopping early when it rains. The best light is in the bad weather.
- Booking the midday ice cave tour. The morning is bluer.
Written by Sven Lindqvist, adventure and landscape photographer; Nordic travel specialist. Eight seasons on Iceland's Vatnajökull and New Zealand's Franz Josef and Fox glaciers. Last reviewed July 2026.
Explore More
Related pages on the rest of the site:
- Jökulsárlón Glacier Lagoon
- Sólheimajökull Glacier Hike
- Iceland Ice Caves
- Best Time to Visit Iceland
Reykjavik: Glacier Lagoon, Diamond Beach & South Coast Day Tour
Experience a day full of glaciers, icebergs, and waterfalls at Iceland's jewel. This guided day tour takes you along the south coast of Iceland with views of gl
Check availabilityExplore More
Related guides and comparisons: